DIY RAILWAY SLEEPERS USING SIKKENS CETOL HLSE
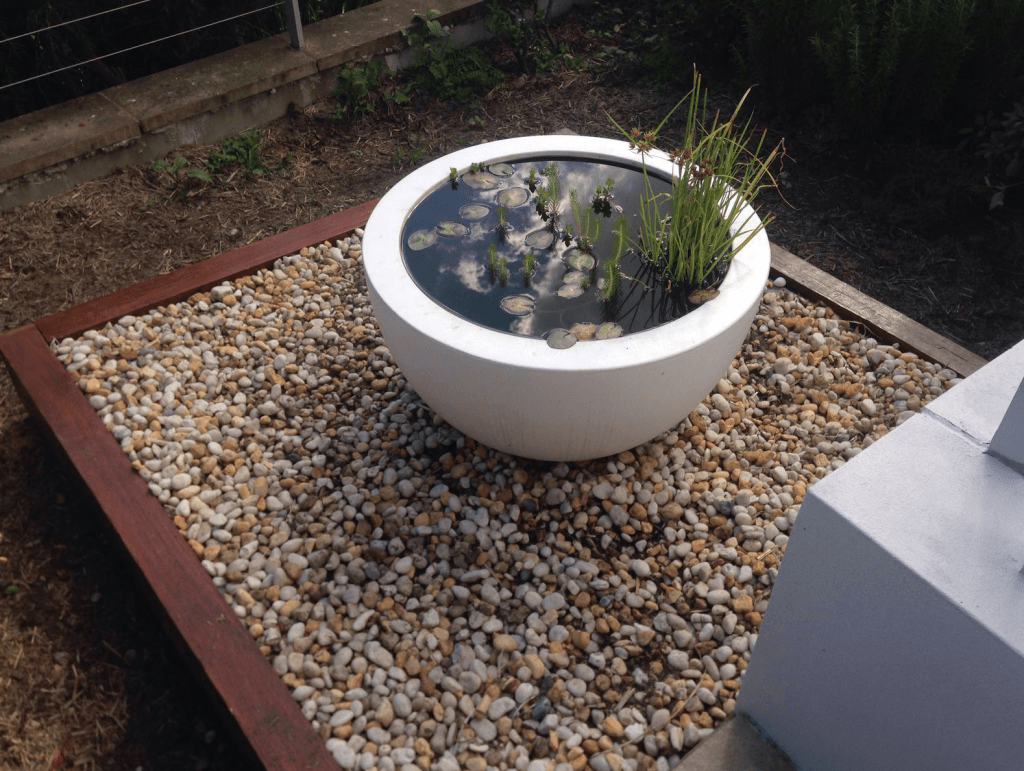
A great present from my sister for my engagement was a large concrete bowl. I decided to turn this into a water feature complete with goldfish, Tiger barbs and Bala sharks. You can’t see it from the photo, but the bowl sits on top of an old drain, which is centred onto a large concrete slab and covered with river pebbles. The concrete was stark and raw and I felt this could be finished off a bit better – so I embarked on a DIY project of edging the concrete with some railway sleepers. There are sleepers used out the front of my apartment block, so I thought this would fit in well with the general landscaping.
Picking up the sleepers
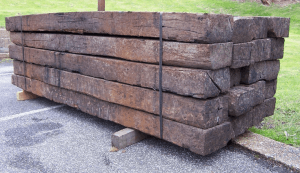
There’s plenty of places to pick these up – try Gumtree or these guys were quite helpful also: http://www.statewidesleepers.com.au/. They come in a light or red wood – I chose the white given I was going to stain them. The red timber looks great, but I’d only put a coat of clear onto that, rather than a tinted stain. But at the end of the day they would both look great so the preference is up to you as to what finish you’d like.
One thing to look out for is that sleepers are usually classed as per the quality: A,B or C. I found it quite difficult to pick up true ‘A grade’, but if you are trimming the sides off anyway, you can probably get away with a B grade. I will give mine a B+ even though they were technically sold as A grade.
As a side note, be careful not to pick up any that have been treated with creosote or any other nasty (especially if you’re looking to use them in a garden with herbs or veggies).
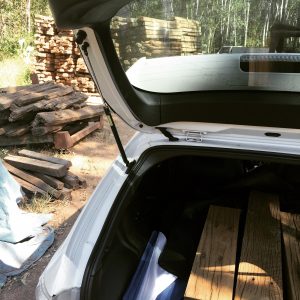
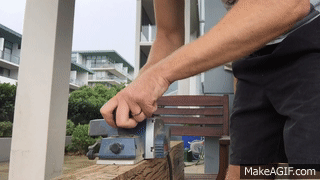
If you are lucky, your sleeper supplier will have a table saw on site, and they can custom cut and trim back the sides. Here’s a picture of mine being loaded up into my hatchback, after being trimmed back. It’s a good idea to take your measurements with. There is no way I’d have been able to cut them back like in the picture below with my DIY circular saw.
Planing and Sanding
Next step – unload the heavy buggers and get them onto something nice and sturdy. I propped mine between two outdoor chairs and secured them with a few G clamps.
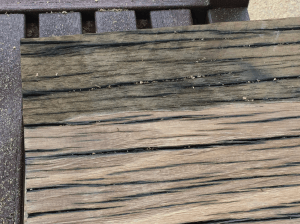
You don’t have to go overboard with the plane – just take off 0.5mm -1mm as per the photo below to expose the raw timber underneath.
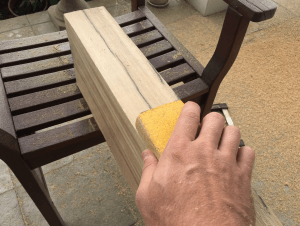
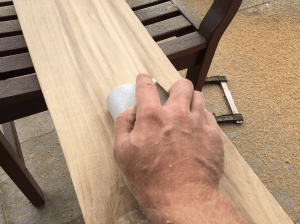
Once you’ve completed planing all your sleepers back, give them a quick sand with 80 grit, followed by 240 grit to get things nice and smooth.
Painting
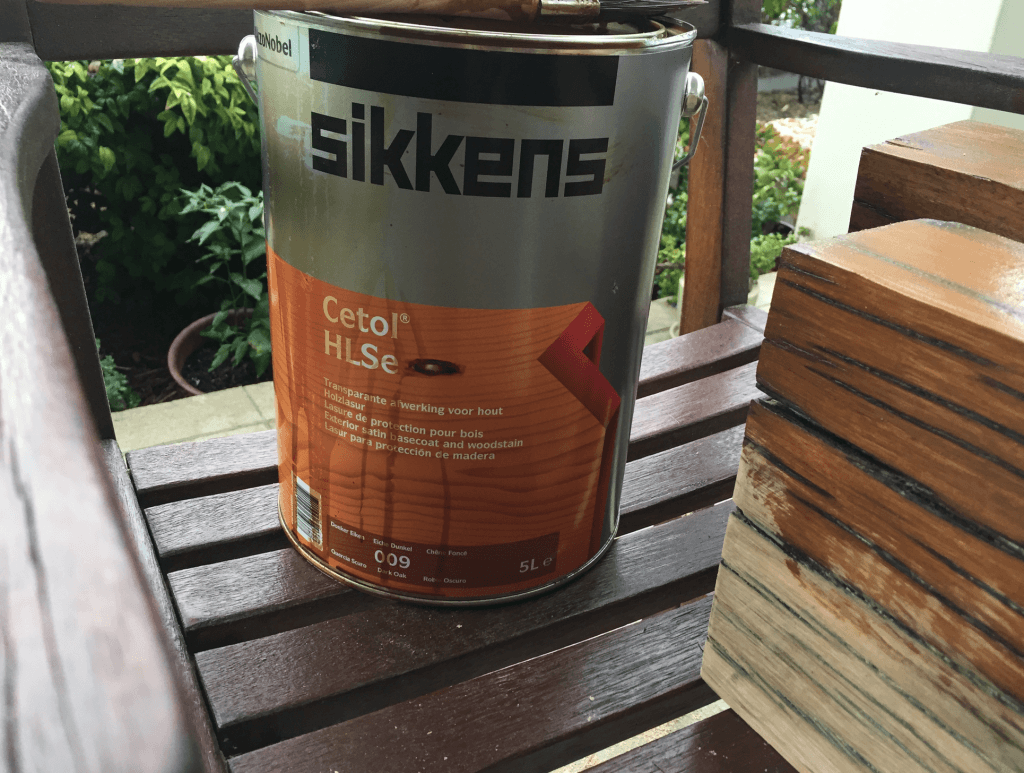
Now it’s time to get painting with your stain. I went with the Cetol HLSe Dark Oak (009) as I wanted to retain some of the natural look of the wood.
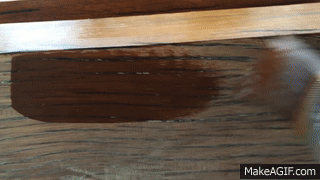
3 Coats later, and you’ll have something like this!! You could get away with 2 coats of the Cetol HLSe, but given mine are exposed to the elements, I’m sticking with 3 as this really does make a difference in the long term.
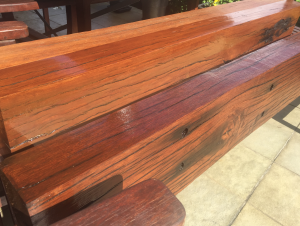
The Finished Product
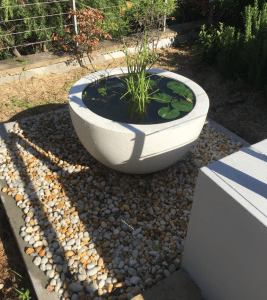
Throw in a hammer drill, some dyna bolts and a lot of sweat and tears, and we have the finished product below. I’m going to buy some more river pebbles to bring them up to the edge of the wood, but otherwise, really happy with the result.