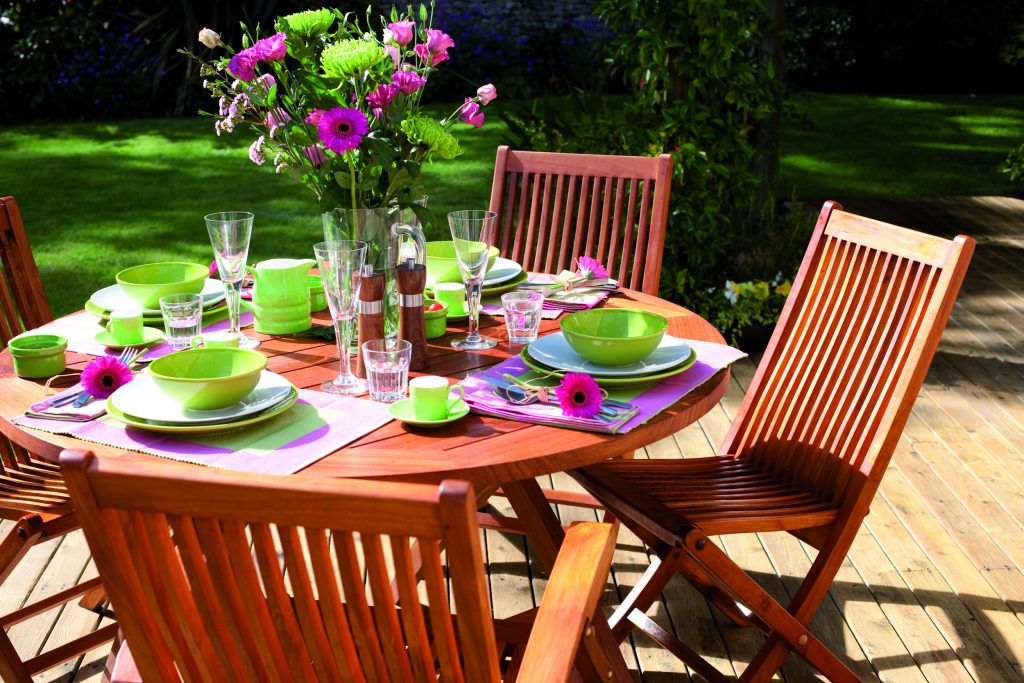
Finishing Outdoor Timber Furniture
Learn the right way to finish timber furniture to save calling a specialist. Read our comprehensive guide on how to finish timber furniture. We have discussed each step and how you need to go from one to another.
The following are the steps involved in timber finishing from the beginning. These are general steps so always refer to the instructions on the tin of each finishing stain used:
Step 1 – Sanding
Prepare the surface of the wood by sanding the furniture.
Use 180-grit sandpaper and sand in the direction of the grain.
Once done, repeat the sanding process.
You can sand once again with a higher grit if you are not satisfied with the surface.
Step 2 – Wiping
After you have sanded the wood, use a rag to wipe the surface and remove any wood particles from the furniture.
Using a tack cloth is recommended, but any cloth will do.
Step 3 – Staining
Always remember to test the stain on a spare piece of timber to get a feel of how it would look on the furniture.
Mix the contents of the finish you are using for timber finishing.
Once satisfied, apply the stain.
Apply the finish onto the wood in a thin coat.
Use a natural bristle brush or coarse synthetic brush.
Be more careful while finishing any designs on the furniture.
Step 4 – Second coating
Once it is completely dry, you need to apply the second coating of the timber finishes you are using.
Try to move with the grain of the wood.
You may still need to apply another coat over the second coat. In that case:
Wait for the second coat to dry.
Sand down the wood again to avoid any bumps if necessary.
Wipe the particles down with a cloth.
Apply the third coat of the timber finish.
When the coating starts to look dull or patchy, it’s time to maintain.
Always make sure you clean the surface thoroughly before undertaking any maintenance.
To shop Sikkens wood stains, click here
To explore the products in more detail, click here

Sikkens Premium Timber Stain